New Painting

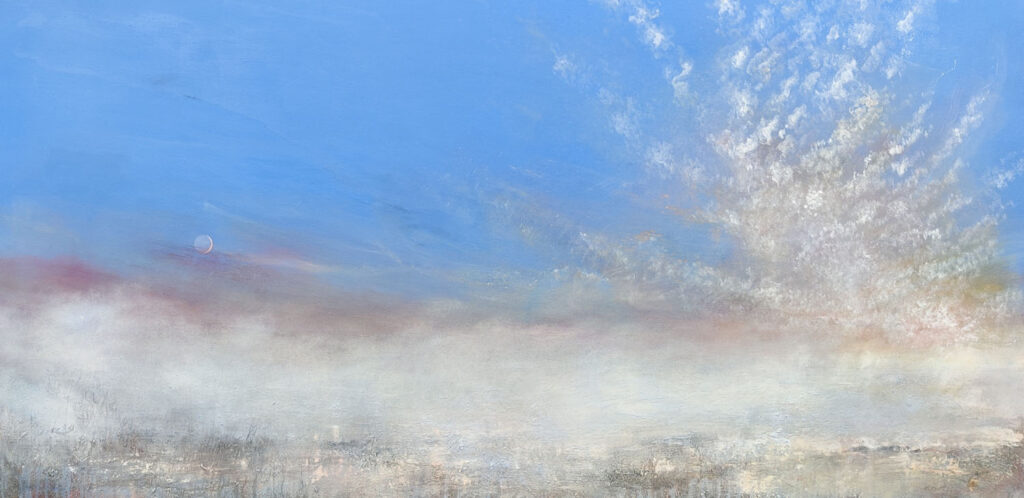
Crescent Moon with Earth Shine and Venus – A Temperature Inversion at Sunset Breghyek Ynysek Syllan Oil on canvas 90×180 cm 2026 £3400

Back on the easel today for the last time. The painting was dry enough for a protective varnish. The image shows the painting secured to the two uprights of the easle.

Earth shine – sometimes referred to as the Da Vinci Glow, the phenomenon has been observed for centuries ….. probably millennia. But Leonardo Da Vinci was the first person to correctly interpret why this phenomenon happens. That it is sunlight reflecting of the Earth and onto the Moon and back to Earth giving off a pale glow.

This painting is from observations and drawings from the 5th October 2024 and has taken a year to complete using artist quality professional materials including Michael Harding and Old Holland oil paintings and finished with a protective beeswax based double rectified Portuguese genuine turpentine matt varnish. This is a wonderful varnish which gives the painting an even matt finish that is almost like the visial equivalent of velvet, making large areas of colour seem infinitely deep.

message me if interested the painting is finished and ready to hang


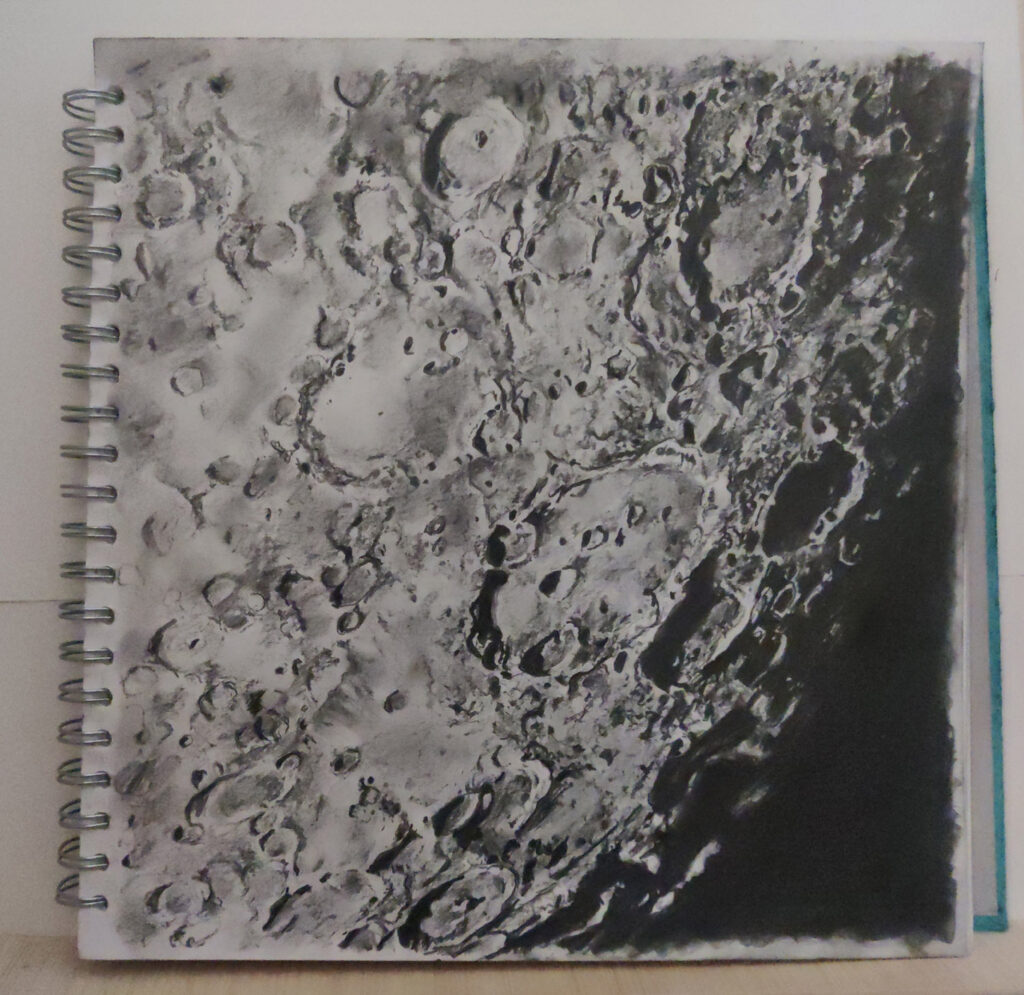
The Crater Clavius …… New drawing

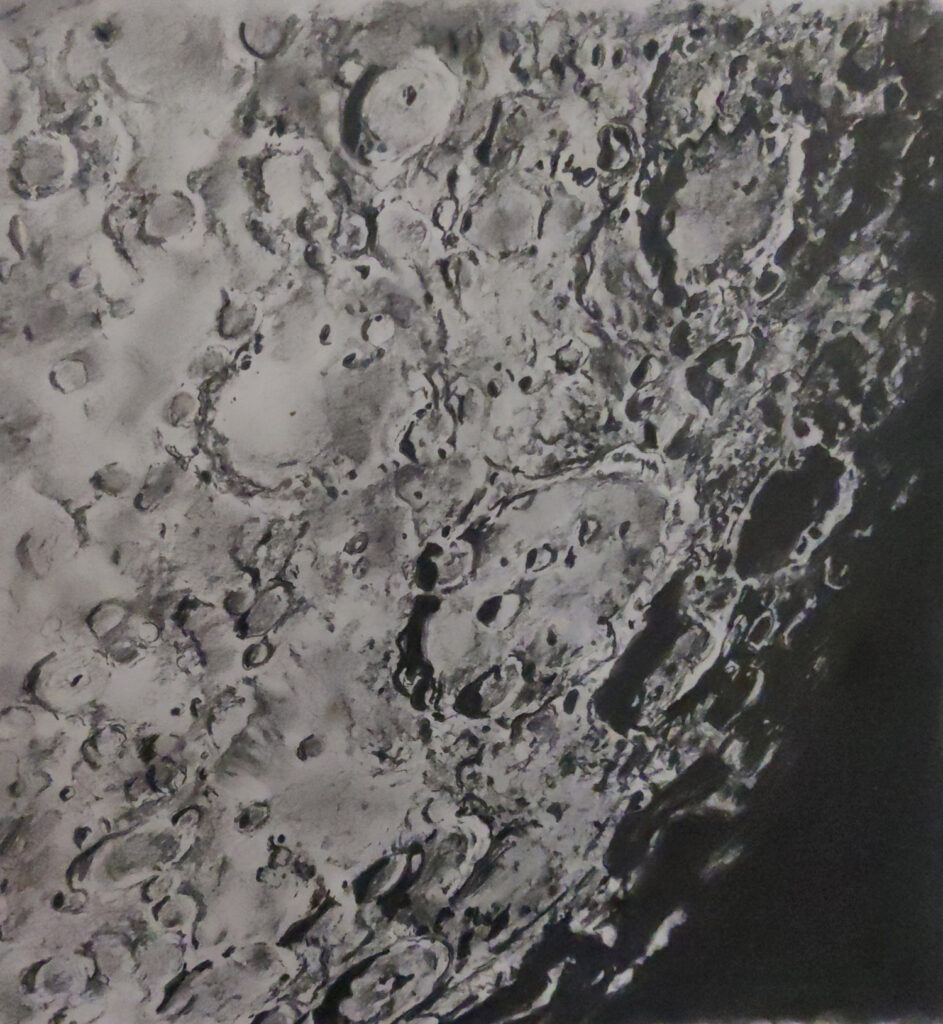
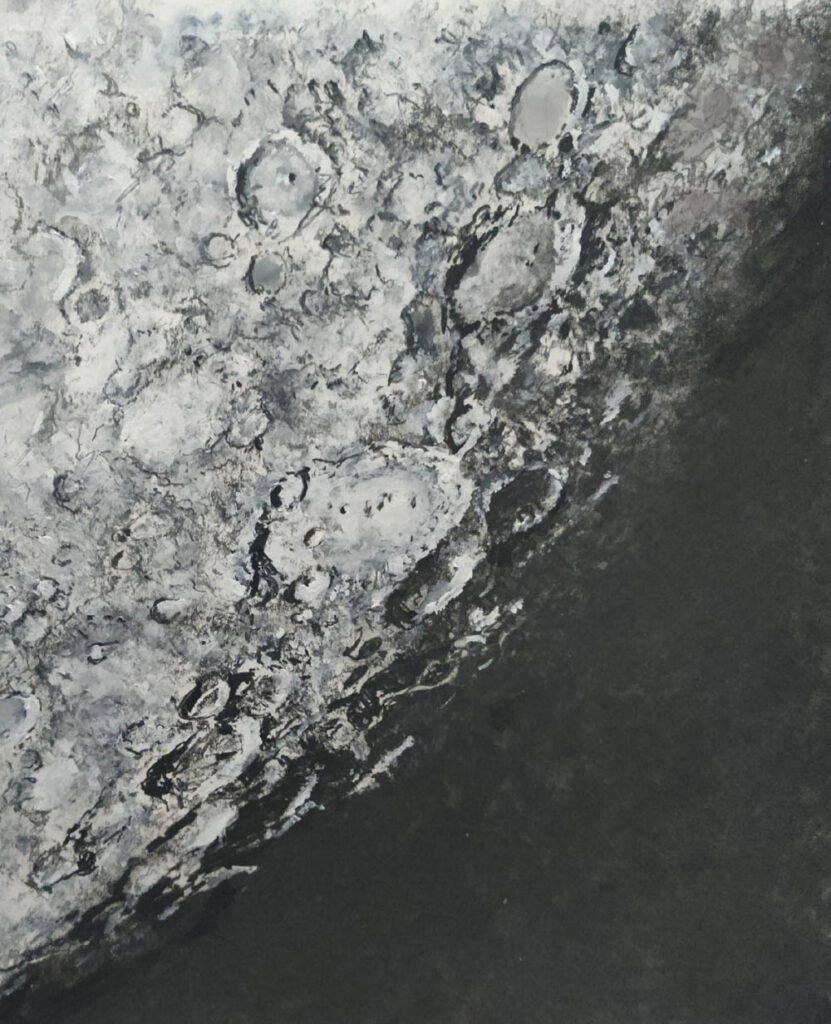
My latest drawing of the Moon, Clavius is one of my favourite craters and it is a huge crater at 231 km across and approx 3.5 km deep and is ancient dating to between 3.8 and 4 billion years It has a fascinating arc of inner craters.
Named by the Italian astronomer Giovanni Battista Riccioli in 1651 after Christopher Clavius, a famous 16th-century German Jesuit priest, mathematician, and astronomer.
For myself I love it’s connection to the film 2001 A Space Odyssey – that it was Clavius base.
The drawing was done through direct observation and finished using images I took during the same session. It is not a copy and it is not generated by AI
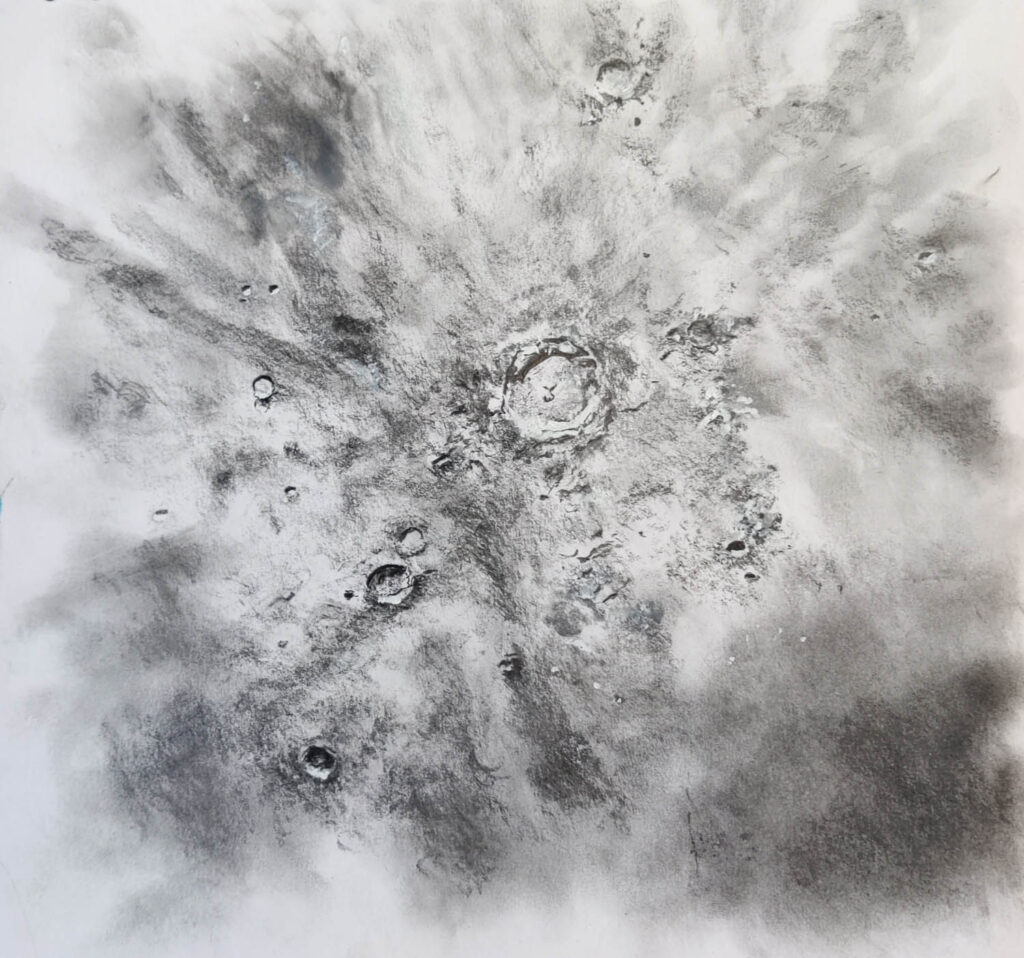
Clavius Graphite on prepared paper 29 x29 cm 2026
This is available to purchase from me unframed £250 I can frame this contact me for more details
In the Sketchbook
Crpped

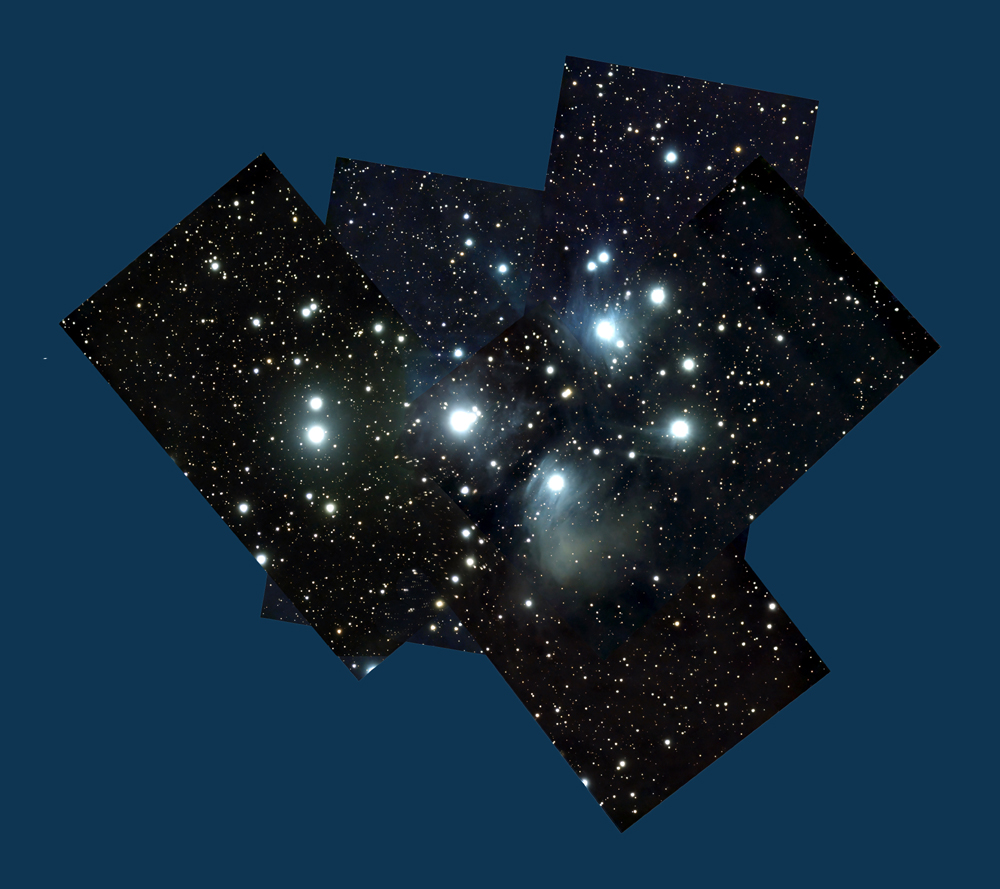
M45 Pleiades New print

This image is a composite of seven images taken with Seestar S50 and stitched together.

Prints are available. Please use the contact form to enquire


New painting

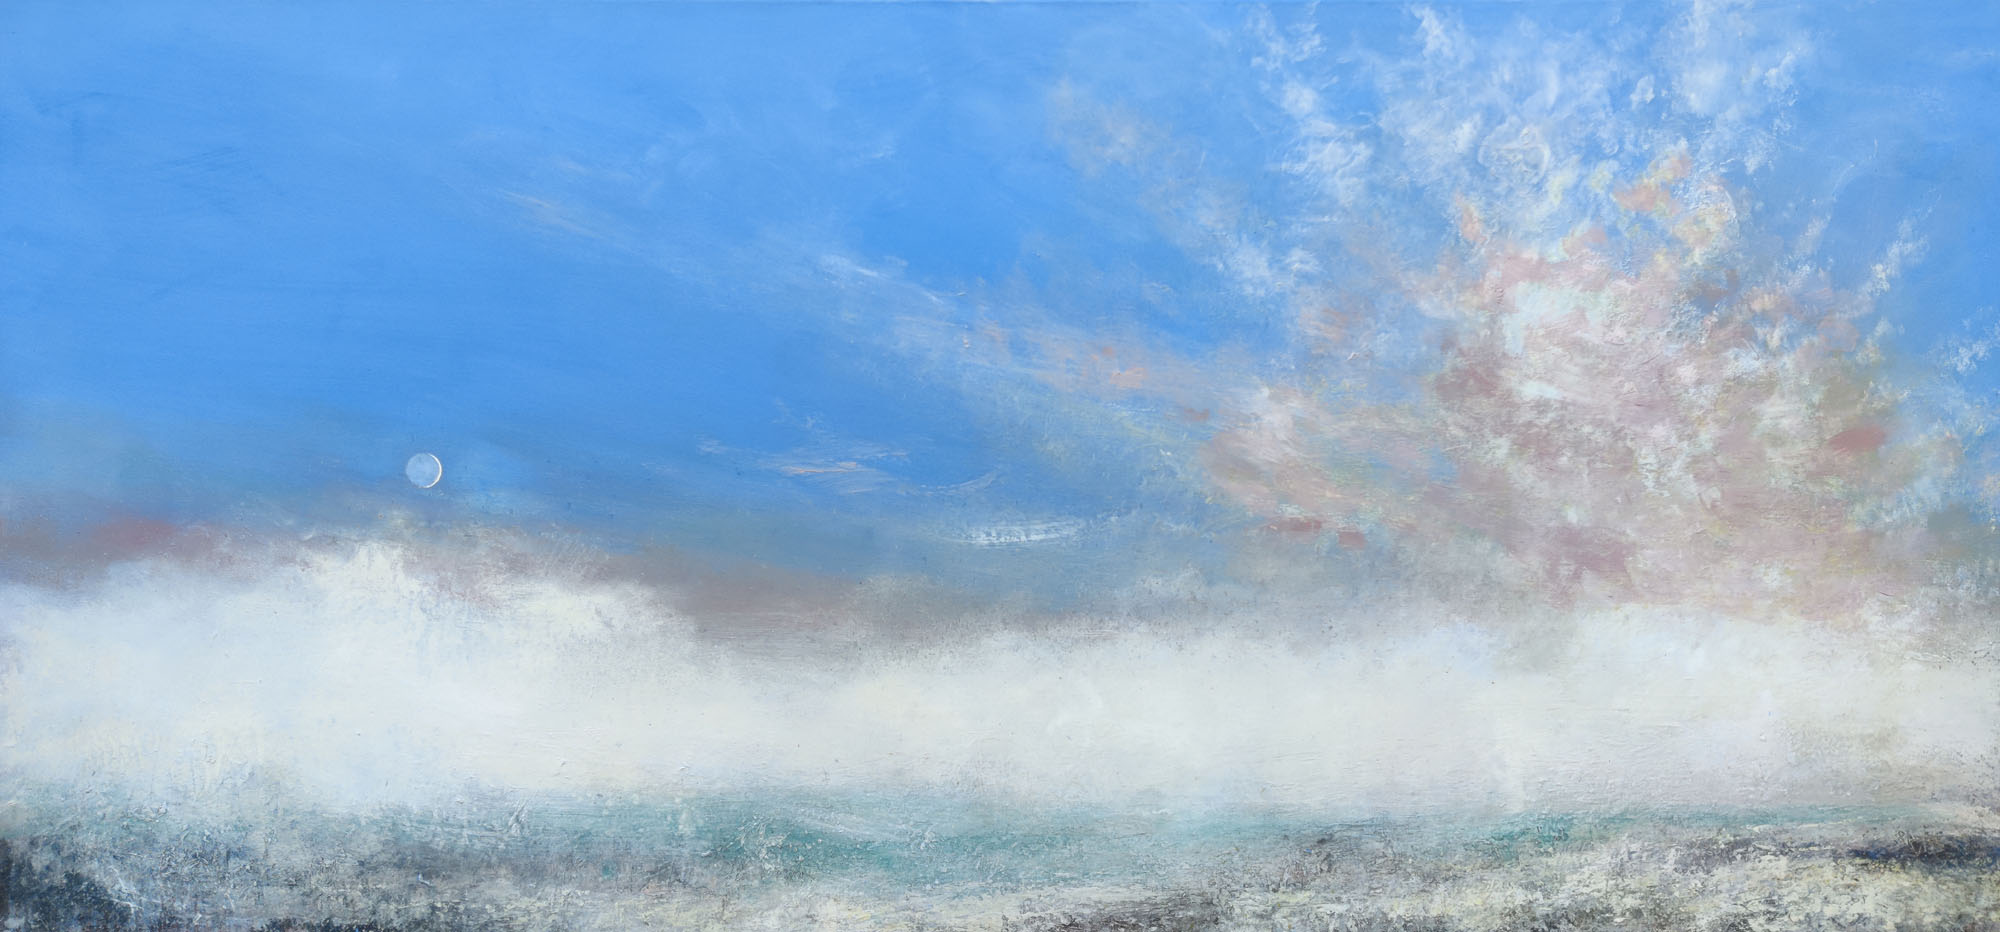
Crescent Moon with Earth Shine, Venus – A Temperature Inversion at Sunset Ynysek Syllan Oil on canvas 90×180 cm 2026 £4495

A favorite subject. The Moon is a wonderful subject and contemplating it’s formation and serene movement across the sky. Seeing Earth shine and a bright crescent is a stunning experience and combined with the changing weather makes for a fascinating subject.


Crescent Moon with Earth Shine, Venus – A Temperature Inversion at Sunset Ynysek Syllan Oil on canvas 90×180 cm April 2026

Latest drawing of the Moon. New drawing

My latest drawing of the Moon centres on my favorite crater Clavious …… I avidly watched Artemis 2 and what a fantastic achievement that was ….. I started this drawing just before Artemis 2 launched viewing the Moon through our Altair 130 EDT APO refractor using a 24 mm explore Scientific eyepiece and x2 barlow. Being a sci fi fan I was mindful of the film 2001 a space odyssey and thatin the film the crater Clavius was the crater used to build a Moon base …… mindful too that the Artemis missions have the ambition to build a Moonbase, though I am sure Clavius will not be where the Moonbase will be. Still it seemed a nice thing to do to contemplate our species return to the Moon.


Clavius


Latest drawing of the Moon.


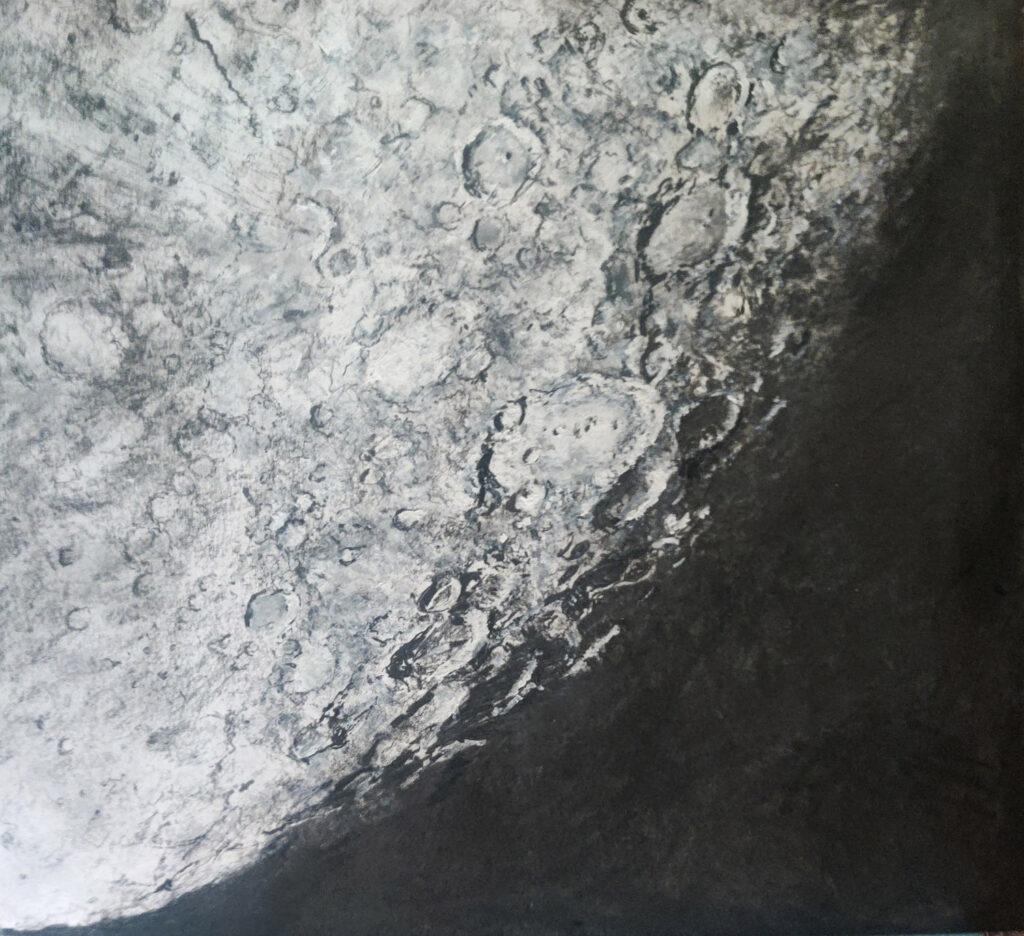
Drawing of the crater Copernicus from direct observation through our Altair 130 EDT apo refractor telescope

Drawing the Aurora Borealis

‘Radically Limited Access to Reality – Enhanced’

Graphite on Card 25×48.5 cm 2024


I Observed the Aurora Borealis on the 10th and 11th May from just after 11 pm to 3 am. It was extraordinary even to my unaided eye’s I could see hints of colour. The crescent Moon was also visible sinking slowly into the West, and is in the lower left of the drawing. This is the first of several artworks about this experience. The drawing is composed of three panels joined together and angled somewhat.

More adventures in astronomy

Modifications to the telescope

Some years ago I built my own observatory with the intention of hunting for supernova explosions in distance galaxies. Long story …. but due to some horrendous circumstances that project was never realised. But I am now in a position to start that up again through the Cosmos observatory on Brechiek Ynysek Syllan. We also have a small telescope of our own which I have been modifying to improve it’s capabilities. The last modification was a swap of one of my paintings for a better mount – a celstron CG3 eq mount. This latest modification is to attach the large finderscope that I had attached to my old 12 inch schmidt cassegrain telescope that I no longer have.

I have been waiting patiently for a few years now to use this finderscope again. Almost it qualifies as a telescope in it’s own right …. it is a right angled TS 90 mm refractor and gives fantastic views on it’s own. Having a wide field of view makes it super easy to center fainter objects in the center of the field of view. Properly aligned what you see through the finderscope will be in the centre of the field of view of the main telescope.

Well I had to make a secondary dove plate to attach the finderscope. I decided to use the main telescope tube rings to do this. The dove plate which I made from a spare length of 2×1 inch planned wood drilling two holes to fit the finderscope shoe and two holes to bolt the dove plate to the tube rings. It took about an hour to do …. cost 0

I then spent an enjoyable 20 minutes or so aligning the finderscope with the Newtonian followed by a short observing session having a look at Sol, but only through the main telescope. I do have a 12inch square sheet of seymour solar filter film from which I will make a solar filter for the finderscope and  the Newtonian, Anyway here are some images of the finished modification ….. and that will be the next modification …..


Image shows new set up with my home made astro baader solar safety filter


A close up of the finderscope and attachment to the main telescope tube rings


The telescope without the finderscope mounted only required one counter balance weight to fully balance the telescope, with the finderscope attached the second counterweight was need and has balanced the telescope really well.


And here is that next modification. A home made full apeture solar filter using a 12 inch sheet of Seymour solar film that cuts out 99.999% of light. It was straight foward to make, just measuring the diameter of the refractor’s apeture, I then cut two squares of thick (2mm) card, cut a circular section out of both the same size as the apeture of the telescope. I then cut a section of the Seymour film slightly larger than the diameter of the circular cut out and sandwiched the Seymour film between the two square cards securing it in place with tape – I used some spare gaffer tape to do this. I then made a short tube from the same card that would fit snuggly over then end of the telescope tube and attached that using tape to the square sandwiched filter and covered the whole thing in non reflecting flocking material.

The fit is secure enough that no amount of wind will accidentally blow the filter off. This is essential to avoid any serious accident that could lead to seroius injury to my eyesight …..  I also have enough Seymour solar film left to make a full apeture filter for the Skywatcher  which I will also do. Now we have clouds and showers so I will have to wait for a sunny day to test it out. Here is an image of the filter in place …..


So what is next. Well as you can see from the earlier images of the tripod, it is missing it’s storage plate that would attach to the tripod leg brace ….. so it is in my thoughts to make one, there is some flex in the lower tripod legs at the midpoint when the lower legs are fully extended and the brackets to tighten the tripod legs are made out of plastic which I do not like at all, so my thoughts are to make a tray for the eyepieces and filters I have, and to either modify the brackets or perhaps have a go at making alternative legs ….. I shall have a think about this

 

More adventures in astronomy – Aurora Borealis


Taken with my mobile phone attached to a tripod – this is a series of images overlayed taken at 1:20 am on 11th May 2024 Brechiek Ynysek Syllan


Multiple image panorama taken 11th May 2024 Brechiek Ynysek Syllan Ursa Major high on the left and Cassiopeia lower


What a fab night, started to watch the aurora just after 11 pm 10th May and finally called it a night at around 3 am. The aurora was caused by multipe cme’s impacting on the Earth’s magnetic field from a Carrington level sunspot group. Paintings to follow.


A word on the images. The human eye see’s fundamentally in a different way to a camera. A camera can pick up the colour’s of the aurora whereas our eye’s working differently in comparison to night and day tend to pick up on tone and light, far more useful at night when colours are hard to see anyway. It is possible to see the colour’s of the aurora with the eye during intense auroral displays however the eye see’s using rods and cones ….. cones are responsible for our sense of colour and rods are more useful at night for light and tone. It is just the way it is. So to this end I wanted to give a comparison of what the camera saw, an enhanced image and how my unaided eye saw the aurora. My reason for this is that some people can be disapointed at seeing the aurora for the first time and not seeing the colour’s that camera’s pick up, also people who take the images tend to enhance the image to pick out not only the cours but also the details in the structure of the aurora.

My preference is always to see with my eye and I am never disapointed with how the aurora appear. Here are three images, the first is the camera image as it saw the aurora on the 10th May 2024. The second is the same image enhanced, and the third image is also modified to show the aurora as my eye’s saw the aurora as near as I can manipulate the image ….


As the camera saw and not manipulated


Same image manipulated and enhanced to bring out the colour and details


Same image manipulated as best I can to show how my eye’s saw the aurora