Yma o Hyd


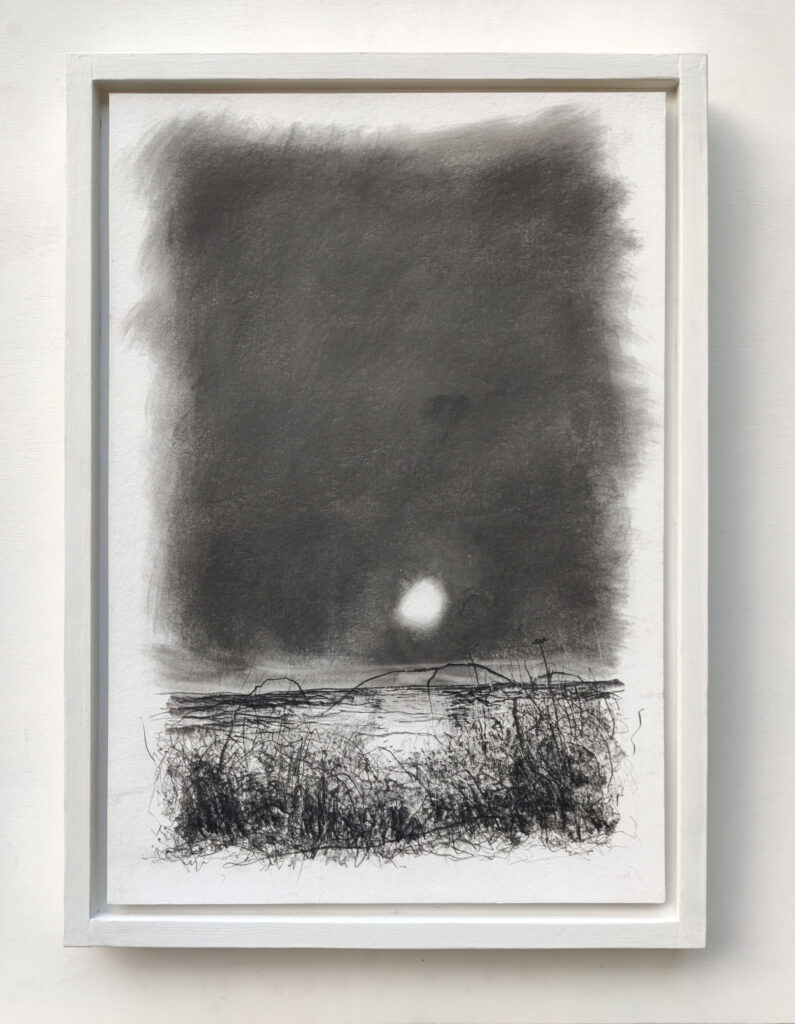
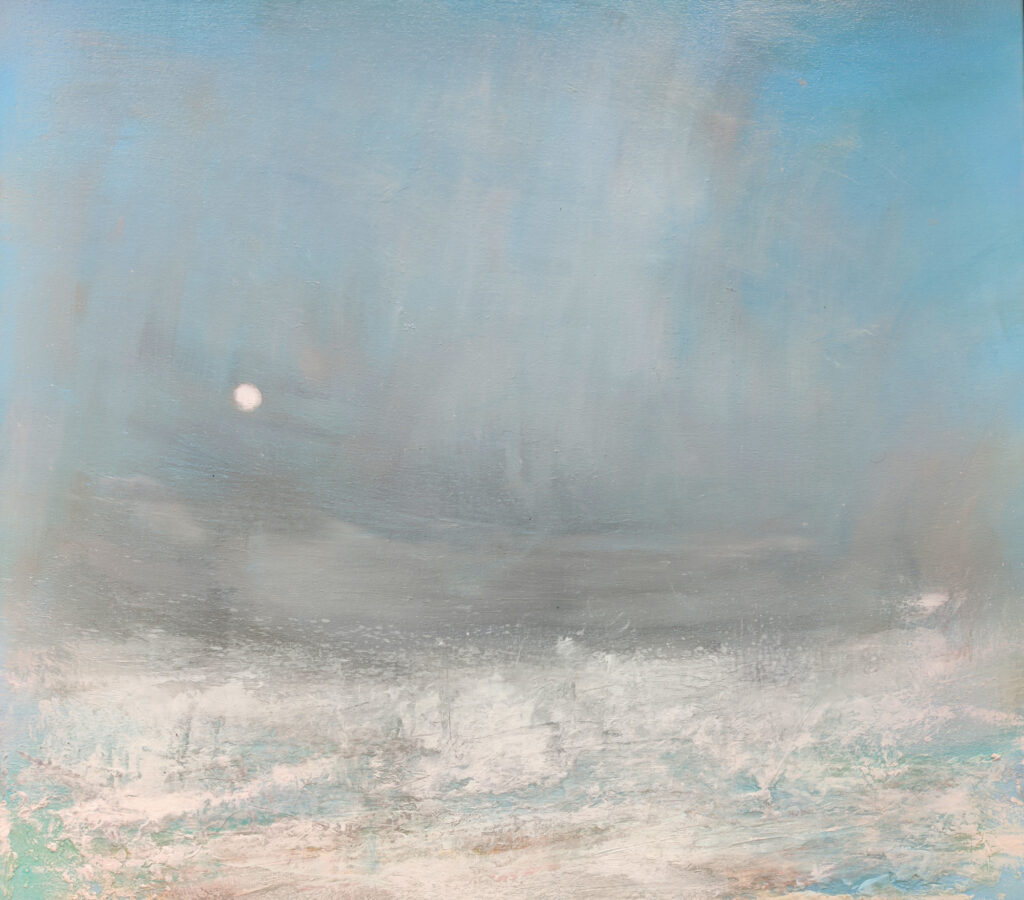
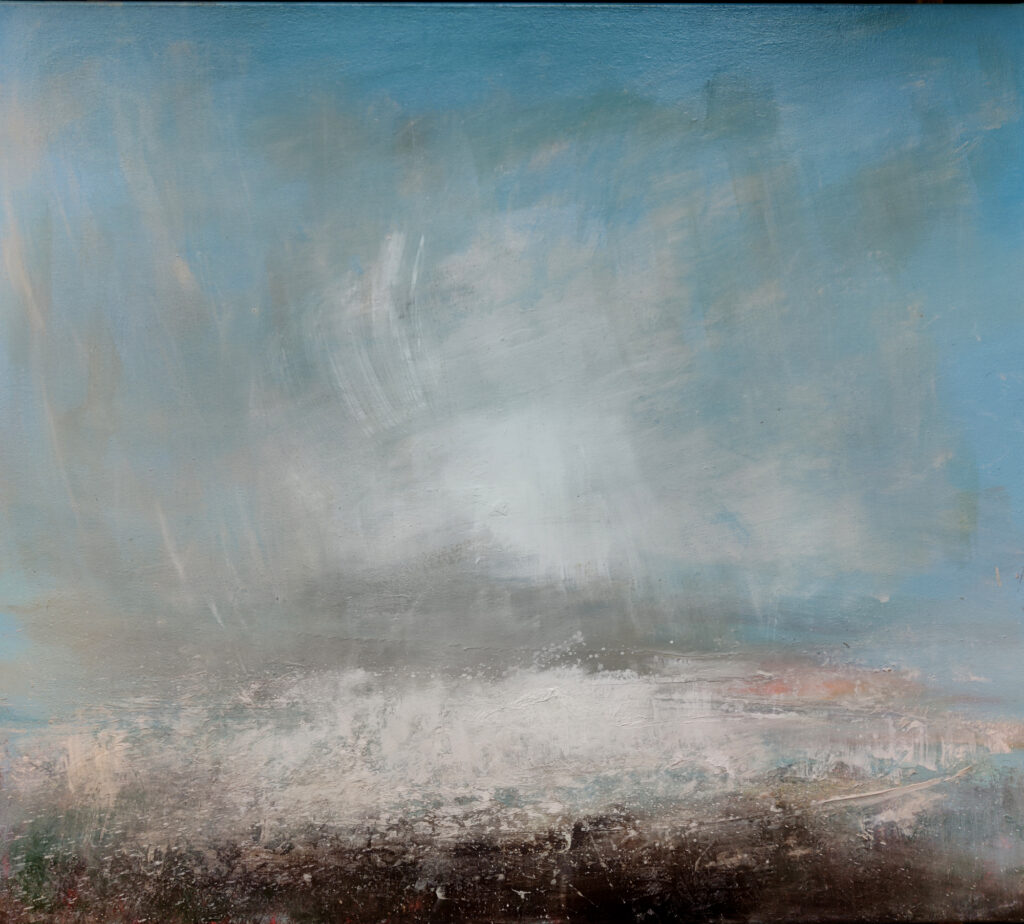
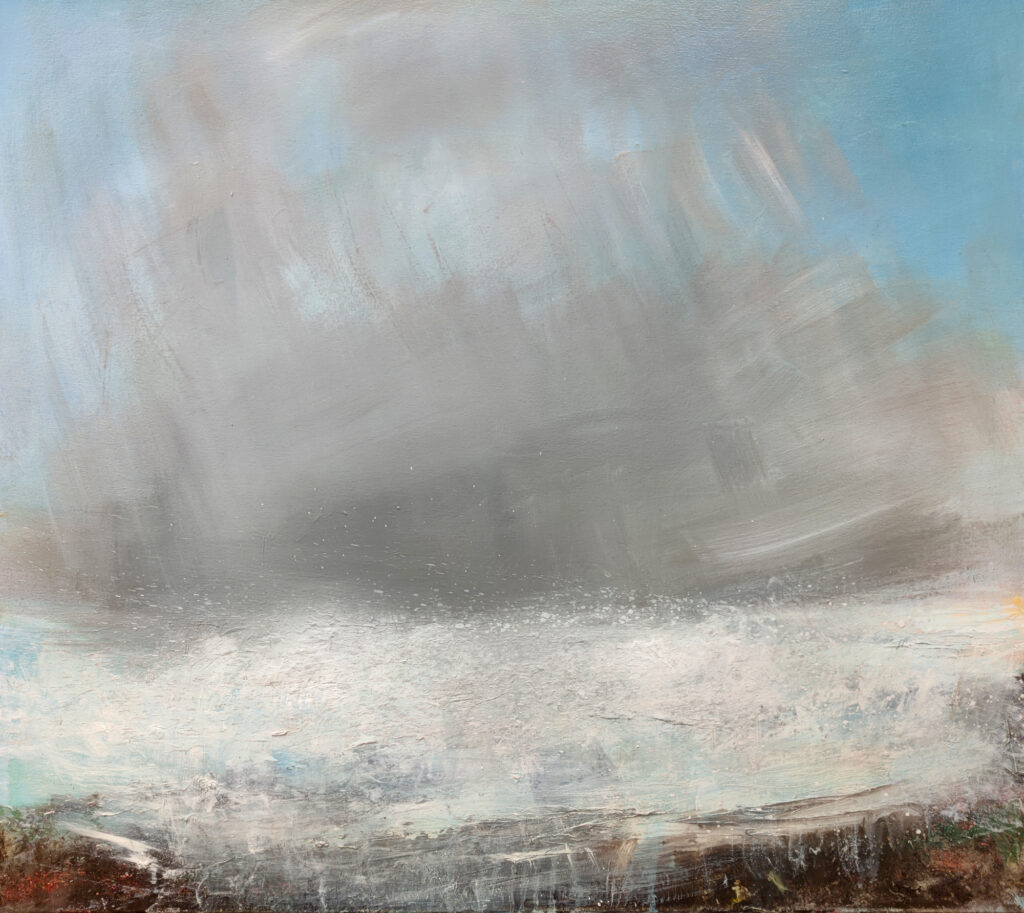
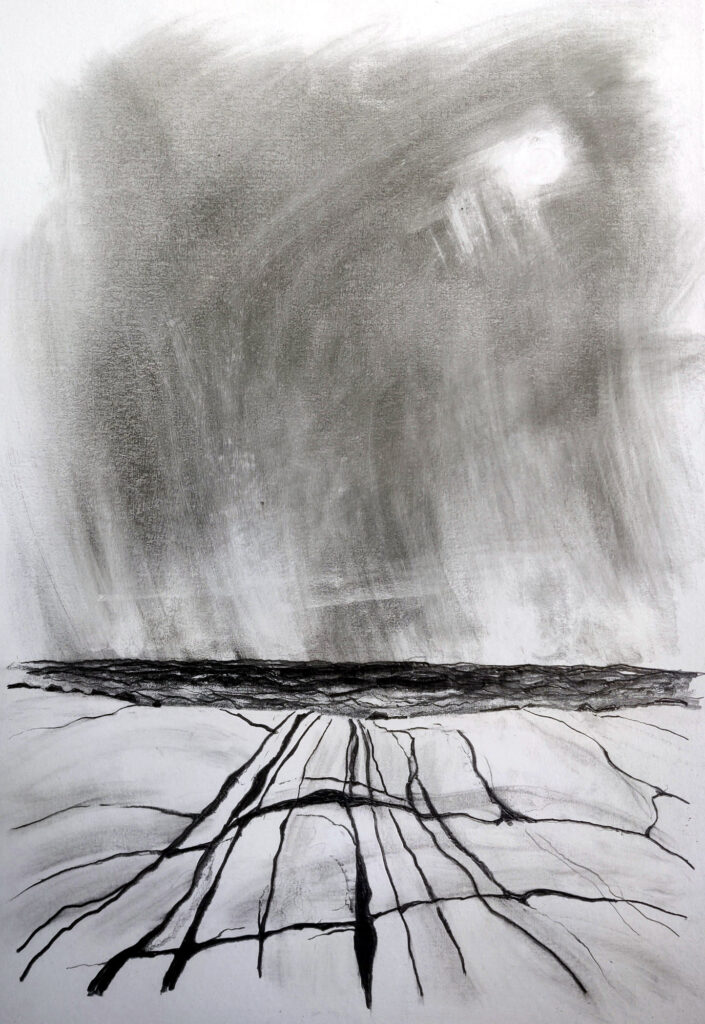
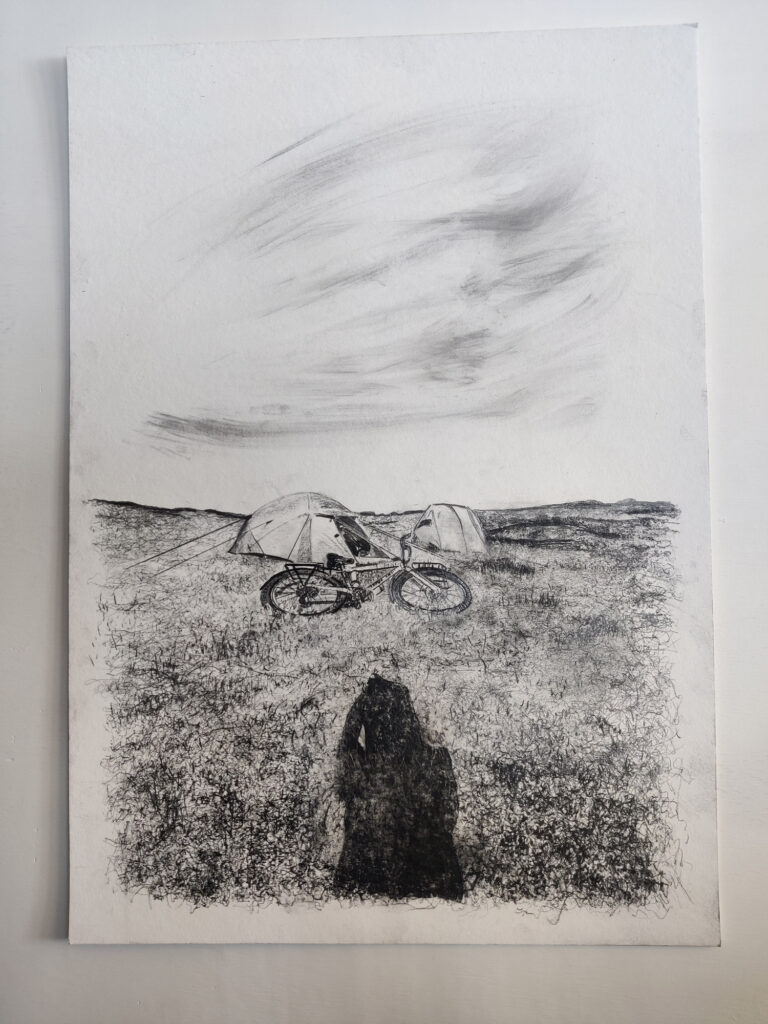
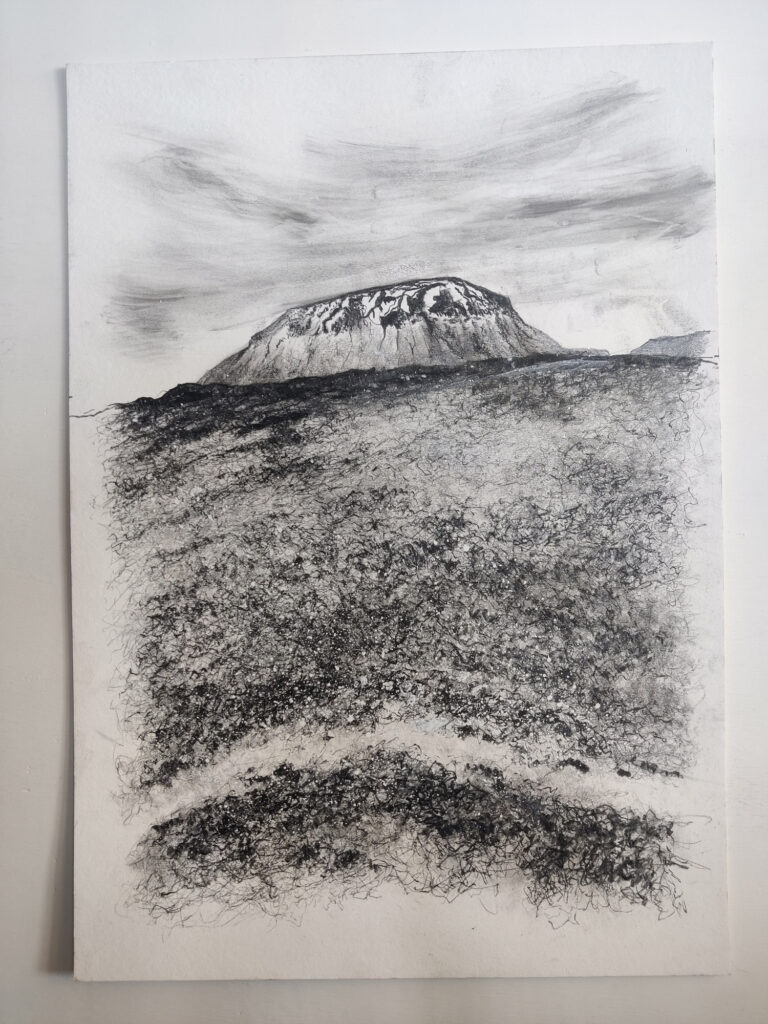
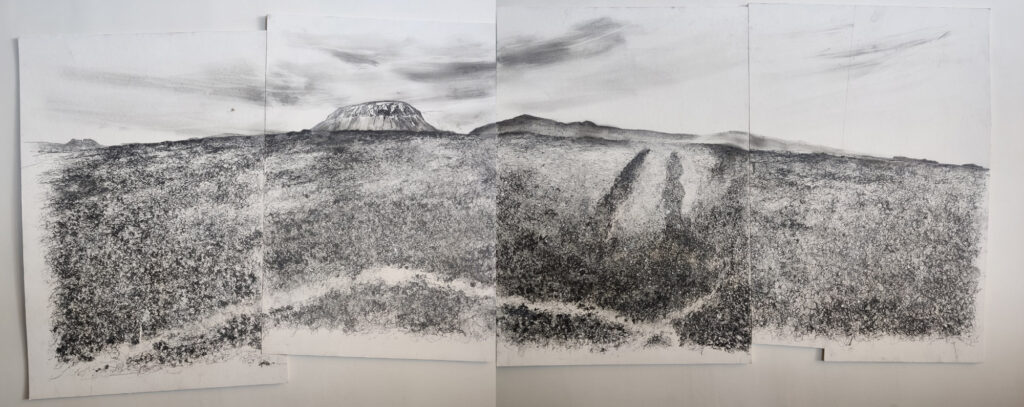
Loor – Brechiek, Ynysek Syllan 27x27cm 2023 unframed £250

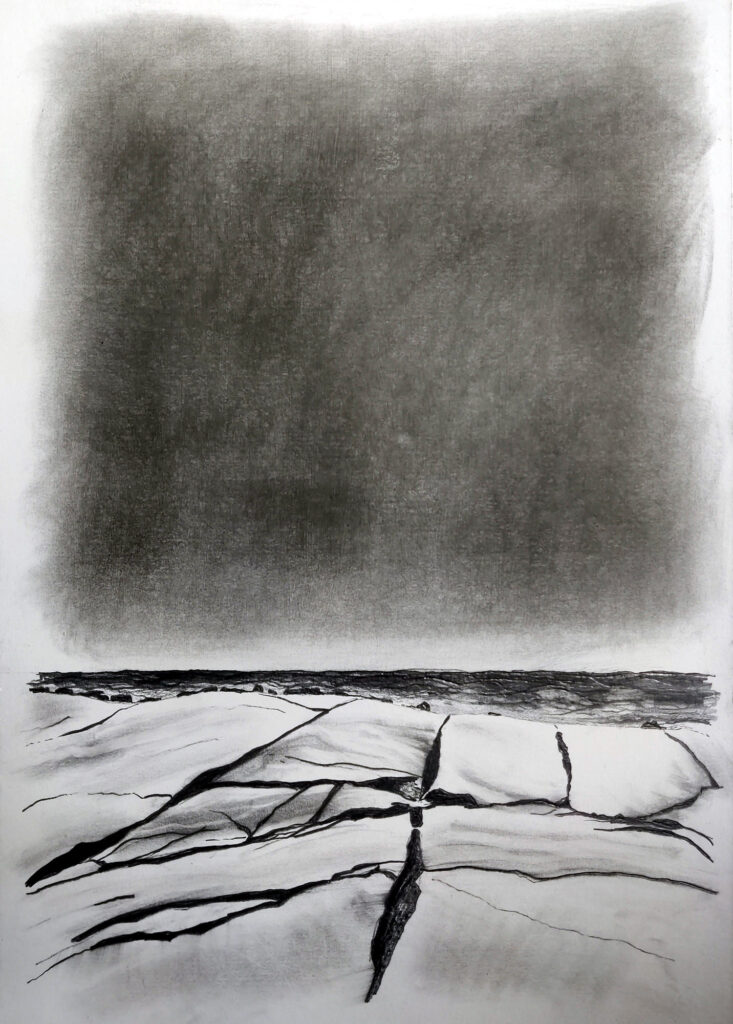
Loor – Brechiek Ynysek Syllan. 27x27cm graphite on paper

The title is in Kernewek, as I continue to learn Cymraeg I have developed a deep interst in the original language of this country – Kernewek and Cymraeg separated into semi distinct languages around the 8th/9th century. In some ways Kerenwek is a regional Dialect of Cymraeg and the South West was original known as South Cymru. As well as learning Cymraeg I am also learning Gaeilge and Gàidhlig, So I think it is time to start learning Kernewek.
It is fabulous to know that even after so many centuries of cultural persecution and a deliberate attempt to wipe out these wonderful languages, that we still have them and that a fluent speaker in Cymraeg and a fluent speaker in Kernewek can understand each other today.
There are many places with names that have a Cymru origin – Pen y Ghent in Yorkshire is one. The name Cumbria derives from the Cymru name for that part of the world and had it’s own Cymru dialect – Cumbric – and still today some farmers will use an ancient counting system which is thought to be a dialect of Cymru to count their sheep on the fells. It is a huge loss to us all that Cumbric is now an extinct language. It is a fundamental loss of cultural history though there are on going attempts to regain this language…. learning these languages is great stuff and has a deep personal and gentic meaning to me. Hence the title.
Yma o hyd

New painting

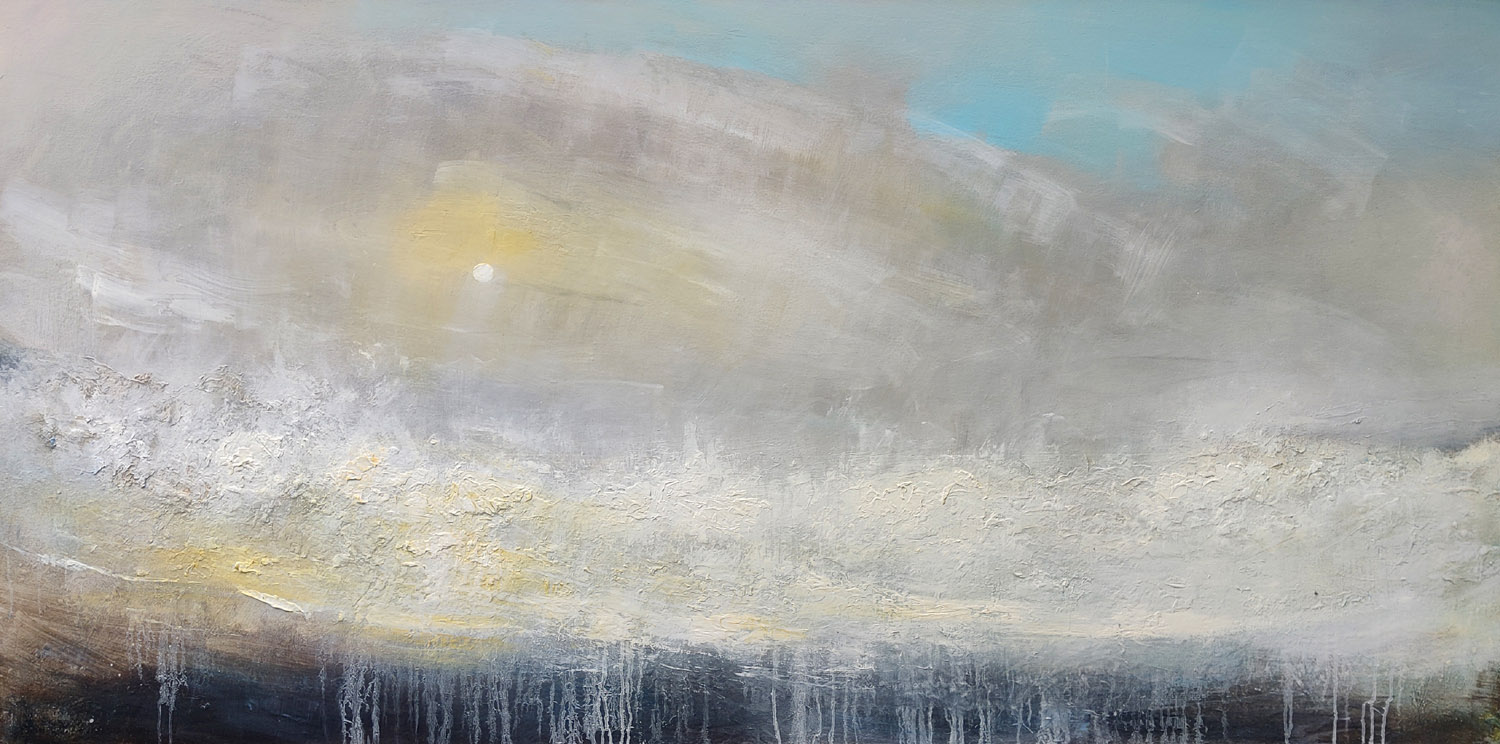
One of my favorite theme’s – Storm – The painting has taken over a year to complete. I work almost exclusively with raw oil paint and the thicker I apply the paint the longer it takes to dry, building up the layers over time. Oil paint dry’s slowly and the different techniques I use require different amounts over drying time.

…. Storm. Oil on canvas 96.5×196.5 cm 2024


New painting

Bluebells Brechek. Ynysek Syllan. 96×106 cm oil on canvas 2024 £1900 plus postage and packing

More adventures in astronomy

Modifications to the telescope

Some years ago I built my own observatory with the intention of hunting for supernova explosions in distance galaxies. Long story …. but due to some horrendous circumstances that project was never realised. But I am now in a position to start that up again through the Cosmos observatory on Brechiek Ynysek Syllan. We also have a small telescope of our own which I have been modifying to improve it’s capabilities. The last modification was a swap of one of my paintings for a better mount – a celstron CG3 eq mount. This latest modification is to attach the large finderscope that I had attached to my old 12 inch schmidt cassegrain telescope that I no longer have.

I have been waiting patiently for a few years now to use this finderscope again. Almost it qualifies as a telescope in it’s own right …. it is a right angled TS 90 mm refractor and gives fantastic views on it’s own. Having a wide field of view makes it super easy to center fainter objects in the center of the field of view. Properly aligned what you see through the finderscope will be in the centre of the field of view of the main telescope.

Well I had to make a secondary dove plate to attach the finderscope. I decided to use the main telescope tube rings to do this. The dove plate which I made from a spare length of 2×1 inch planned wood drilling two holes to fit the finderscope shoe and two holes to bolt the dove plate to the tube rings. It took about an hour to do …. cost 0

I then spent an enjoyable 20 minutes or so aligning the finderscope with the Newtonian followed by a short observing session having a look at Sol, but only through the main telescope. I do have a 12inch square sheet of seymour solar filter film from which I will make a solar filter for the finderscope and  the Newtonian, Anyway here are some images of the finished modification ….. and that will be the next modification …..


Image shows new set up with my home made astro baader solar safety filter


A close up of the finderscope and attachment to the main telescope tube rings


The telescope without the finderscope mounted only required one counter balance weight to fully balance the telescope, with the finderscope attached the second counterweight was need and has balanced the telescope really well.


And here is that next modification. A home made full apeture solar filter using a 12 inch sheet of Seymour solar film that cuts out 99.999% of light. It was straight foward to make, just measuring the diameter of the refractor’s apeture, I then cut two squares of thick (2mm) card, cut a circular section out of both the same size as the apeture of the telescope. I then cut a section of the Seymour film slightly larger than the diameter of the circular cut out and sandwiched the Seymour film between the two square cards securing it in place with tape – I used some spare gaffer tape to do this. I then made a short tube from the same card that would fit snuggly over then end of the telescope tube and attached that using tape to the square sandwiched filter and covered the whole thing in non reflecting flocking material.

The fit is secure enough that no amount of wind will accidentally blow the filter off. This is essential to avoid any serious accident that could lead to seroius injury to my eyesight …..  I also have enough Seymour solar film left to make a full apeture filter for the Skywatcher  which I will also do. Now we have clouds and showers so I will have to wait for a sunny day to test it out. Here is an image of the filter in place …..


So what is next. Well as you can see from the earlier images of the tripod, it is missing it’s storage plate that would attach to the tripod leg brace ….. so it is in my thoughts to make one, there is some flex in the lower tripod legs at the midpoint when the lower legs are fully extended and the brackets to tighten the tripod legs are made out of plastic which I do not like at all, so my thoughts are to make a tray for the eyepieces and filters I have, and to either modify the brackets or perhaps have a go at making alternative legs ….. I shall have a think about this


More adventures in astronomy – Aurora Borealis


Taken with my mobile phone attached to a tripod – this is a series of images overlayed taken at 1:20 am on 11th May 2024 Brechiek Ynysek Syllan


Multiple image panorama taken 11th May 2024 Brechiek Ynysek Syllan Ursa Major high on the left and Cassiopeia lower


What a fab night, started to watch the aurora just after 11 pm 10th May and finally called it a night at around 3 am. The aurora was caused by multipe cme’s impacting on the Earth’s magnetic field from a Carrington level sunspot group. Paintings to follow.


A word on the images. The human eye see’s fundamentally in a different way to a camera. A camera can pick up the colour’s of the aurora whereas our eye’s working differently in comparison to night and day tend to pick up on tone and light, far more useful at night when colours are hard to see anyway. It is possible to see the colour’s of the aurora with the eye during intense auroral displays however the eye see’s using rods and cones ….. cones are responsible for our sense of colour and rods are more useful at night for light and tone. It is just the way it is. So to this end I wanted to give a comparison of what the camera saw, an enhanced image and how my unaided eye saw the aurora. My reason for this is that some people can be disapointed at seeing the aurora for the first time and not seeing the colour’s that camera’s pick up, also people who take the images tend to enhance the image to pick out not only the cours but also the details in the structure of the aurora.

My preference is always to see with my eye and I am never disapointed with how the aurora appear. Here are three images, the first is the camera image as it saw the aurora on the 10th May 2024. The second is the same image enhanced, and the third image is also modified to show the aurora as my eye’s saw the aurora as near as I can manipulate the image ….


As the camera saw and not manipulated


Same image manipulated and enhanced to bring out the colour and details


Same image manipulated as best I can to show how my eye’s saw the aurora


A new …. second hand telescope mount

I have been visiting Cosmos observatory for some time and have  become a volunteer for the community observatory on the Island of  Brechiek, Ynysek Syllan (St. Martin’s Isles of Scilly)

It is an amazing observatory. My son and I have taken part in two Scilly Dark Sky weeks which happen in October each year and take every opportunity to visit the observatory , It has been in my mind for a long time to become a part of this community project and so as soon as the opportunity arose in whatever form it took I would jump at the chance to be apart of this, and earlier this year a call was put out to become part of the team as a volunteer helping out with the weekly astronomy sessions. It is just great stuff to be able to use this eqyipment and to share the experience with such wonderful like minded people

….  Here is the link to Cosmos observatory click here    ….

I had noticed some time ago that there were various pieces of spare astronomy equipement at the observatory particularly a sturdy eq mount that was without an O.T.A. that after asking about turns out is donated to the community project as something that can be used by any interested members but this particular mount is not being used. The owner no longer uses the eq mount. What mader me interested is that the telescope I have is on an eq1 mount which is in my view inadequate even for the small 114mm Skywatcher Newtonian reflector that I use at home.

So I asked if it might be possible for me to use the mount and the owner said yes of course and because it is never used suggested I just have the mount which was absolutely wonderful. In the past I have when the opportunity pressents itself swapped one of my artworks for whatever it is I am interested in …. I love to do this kind of swap/barter …. on the whole I hate and loath the very concept of money and exchanging artworks for money has always been a neccessity which I thoroughly hate. That we all have to exchanged our lives for this is to me appauling, so whenever I can I will do this. And so I took my courage in my hand and asked if Charlie the owner of the EQ mount would like to exchanged the mount for one of my paintings …. a simple swap …. well art is a very personal thing so you never know for sure if this will work, You can never know if the person will like the art you do but long story short Charlie does like my artwork and so …. yes that is what we did.

I took the mount home after our usual astronomy evening session and a few days later after finishing and framing a new painting took the painting round for Charlie. The painting to me is in size quite small …. for me, I usually like to work on much larger paintings. Anyway Charlie was not expecting anything quite so ‘big’ and is really supper happy with the paintign. The painting is apt as it has an astronomical theme which goes hand in hand with this circumstance and by chance has Charlie’s favorite colour palette …. great stuff.

The mount is an astromaster CG3 Celestron, now I like Celestron’s astronomy equipment, but this mount does have issues so the first thing I did was to completely dismantle the mount, both the RA and Dec rotation axis were stiff and in places sticking and there was some tarnish and corrosion on the various bolts and it was very dusty having not been used for quite some time, so I cleaned of all the old sticky goo that passes for lubricant by the manufacturers and replaced it with a much, much, much, better  greese. There is an upgrade kit available for the RA and Dec axis’ which I will at some point buy or if possible barter/swap for another artwork.

One issue that I had to solve right way was how to attached my 114mm skywatcher newtonian reflector to the celestron mount. I needed a dovetail plate because the tube rings for the newtonian were not compatible, but fortunately this was a fairly easy thing to make. I simply used some 12 mm marine ply I had found in a skip and fashioned a dovetail plate with a flat metal bracket screwed to the side of the dovetail plate  that could then be clamped in place. Attaching the tube rings was simple enough …. I simply drilled the appropriate holes at both ends of the dovetail bar and found some longer bolts that I had lying around and hey ho the newtonian could be attached to the celestron mount. This was also a useful modification as it allowed me to mahe the dovetail bar longer than the attachment for the old EQ1 mount thereby increasing the stability of the telescope.

The mount had the usual brace for the tripod legs but with no tray so this is something I will also make in the next few days. The tripod is ok ish the lower internal legs extend and there are only a few spots of corrossion on the legs that required a bit of clean up. However there is quite a bit of play in the lower legs as they extend which I also want to address fairly soon.

And finally I have a larger finder scope that I will piggy back on top the the Newtonian and I will make a bracket out of the 12 mm marine ply to do this …. again faily soon. But my main concern for this day was to get the set up working.

For the moment I have done everything I need to get this new set up working well and I tested the whole thing the other day with my home made solar filter to view the sun and it was a very definate improvement going from a basic EQ1 to the astromaster CG3 which I assume is the equivalent of an EQ 2/3. There is a terrific improvement in stabilty which is particularly noticable during focusing and the slow motion controls are a big step up from the EQ1 mount. Here are some photo’s of the new set up, with me and the painting I swapped for the mount.

…. Me, the painting I was about to take round to Charlie and the set up with the astromaster CG3 mount …. Great Stuff ….


…. The O.T.A. attached with my home made solar filter, the work bench in the back ground and the large finder scope being prepared to be attached ….


…. this next image is a close up the the dovetail bar that I made to attache the O.T.A. …. you can just make out the flat metal bracket I used to allow secure clamping ….


…. The painting has several titles …. ‘Daughter of Theia’ is one and also ‘Children of Theia’ …. I also slightly changed the foreground this is how the painting originally look. I added some more details to the foreground and some sirus clouds around the Moon, which you can just make out in the photo of me with the painting and the telescope….


…. This is not such a great image but it shows how I changed the painting for this occassion ….


New gallery and exhibition of my artworks in London

My second exhibition for 2024 and a new gallery promoting my artwork.

This painting is one of the artworks on show. The exhibition starts on the 19th April and is ongoing.

To view the gallery click here

Magnetic Reconnection - view from Porth Mellion Cairn Tresco February 2023

Magnetic Reconnection – view from Porth Mellion Cairn Tresco February 2023. £2500

First artworks about Skógafoss Ísland

Cycle touring Ísland was immense, the best cycling experience of my life and I can’t wait to go back. For now It is time to play catch up. I was cycle touring Ísland with my son for 3 months a Skógafoss Íslandnd we cycled the ring road and crossed the centre from East to North and North to South. And of course cycling the ring road it is impossible to miss Skógafoss. But that is just the first waterfall in a series of 30 waterfalls all spectacular. Here are my first small artworks about Skógafoss


 Skógafoss Ísland No.1 Oil on prepared paper 40.5 x 50.5 cm 2024 £125


Skógafoss Ísland No.2 Oil on prepared paper. 40.5×50.5 cm 2024  £125


Skógafoss Ísland No.2 Oil on prepared paper. 40.5×50.5 cm 2024  £125